Thursday, 23 February 2012

My boyfriend's Homemade Valentine's Card


This year I decided to make my boyfriend's valentine's card instead of buying him one someone else designed.

A lot of the materials were things I found or leftovers like the jeans pocket which was in my box of bits and pieces that I like to save in case I can make something with them in the future.

The jeans pocket used to be on a skirt I no longer fitted in.  The heart a little piece of leftover fabric.  The metal "Love" piece I found on a pavement in January (you'd be surprised what little trinkets you can find dropped on pavements!)

The backing card I bought from an art shop for under a £1 (but you can get at least 3 greeting cards from 1 piece of card) and the glittery hearts I put on the inside were from a £2 pack of stickers (but I still have some left over for future projects)

I sewed on the heart and embroidered the "my" on the train to Brighton for the Seedy Sunday Seed Swap.  A few people om the train had a nose at what I was up to when I was making that.

And of course using a jeans pocket I had to pop a little present for him in the pocket.  Teamed up with a red envelope! 

He was chuffed.  It took a little while to put together but it was definitely worth it and so many little bits and bobs were upcycled - some people would even think it rubbish!!

Did you make your other half's Valentine Card this year?

Friday, 17 February 2012

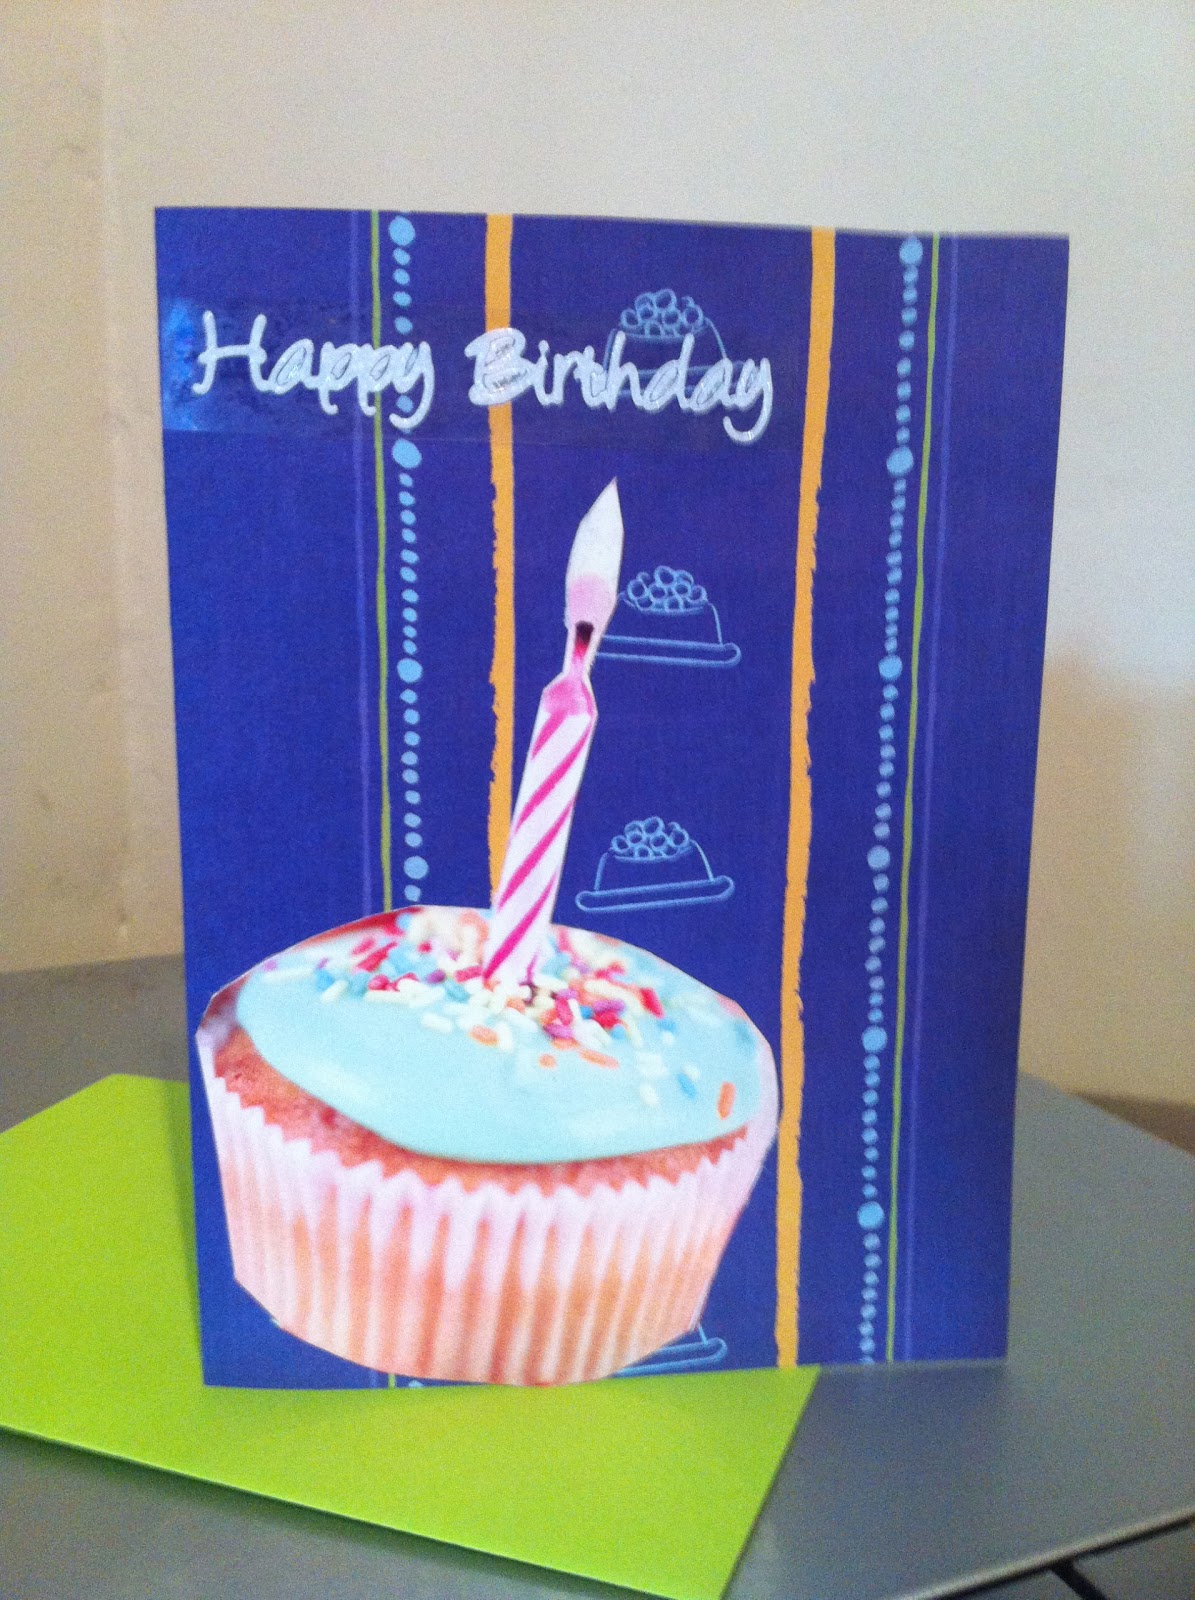
Home made Birthday Card


I made this card for my friend Paul so another card for a boy.

Materials:
Lettering (Art Shop)
Pattern Backing Card (Art shop)
Cupcake Picture (cut out from an old birthday card)

Teamed up with a lime green envelope.

Monday, 13 February 2012

A Birthday Card for Him


Men can be so difficult to find suitable cards for.

I made this card for my boyfriend's birthday.  We're a bit strapped at the moment so all he wanted for his birthday was a homemade card and a chocolate birthday cake.

Last year I did a gouache painting, so he knows I like to create things, but this time I wanted to do something really special.

I looked on some websites for inspiration and in the midst of my online research there was a you tube video I found which mentioned "have a really good think of what are the recipients interests or hobbies?  What do they like doing in their spare time?"

For Matt, that was easy, his car!  He bought it about a week before he met me and never really got to pull in the car!  He fondly calls it the rollerskate.

To start to make the card I printed a colour image of the car on our home colour printer.  I just used bog standard paper but very carefully cut around the edges so I could add my own background.

The red back ground was from an offcut of material I bought to make a cushion for him for Christmas (he really likes red).

For the background, originally I was going to go for a shabby chic background of some brown packing paper glued onto a bit of card but then I had the idea of using patterned wrapping paper.  I like bright colours and patterns and felt that there needed to be a bit of me in the card too.  I was browsing round my local art shop and stumbled across these printed cards.  They range from about 50p to £1.00 and you can make about 2 cards out of each sheet.

And there you have the full combinations for my boyfriend's birthday card.  He thinks it has a kind of a retro look to it.

Tuesday, 31 January 2012

Patchwork Bag

I love this bag, so much so that it got quite worn to the extent that it started to get a big hole on the back.  I started off by fixing it and patching up the hole with a brown piece of cloth.  Originally the back was green material like the handle you can see so it was all khaki green with a brown patch in the middle about 10cm x 10cm.  Not very glamorous!

One day I was going through clothes which were taking up too much room in my cupboard.  I found a patchwork skirt that I'd bought in Barcelona a few years ago - I barely squeezed into it when I bought it.  I just loved the colours!  But I never really fitted into it and it just lived in my chest of drawers never seeing the light of day because it really was too small for me to wear. 

I'd seen a programme on appliqué and had the brain wave of turning the skirt into something else, unpicked all the fabric pieces and started sowing them onto the backing of my favourite bag in a patchwork style using the appliqué method. 

And here's the finished result.  I absolutely love it and am so proud I can't help telling friends "I did this!"

It is still a work in progress.  I am going to finish off redoing all the piping in cerise cotton.  I think the green with cerise go together very strikingly.


Friday, 27 January 2012

My first project

Last November, as the winter nights were drawing in and I was getting very inspired by the Maker Hood idea or make do and mend and create something new... I decided to bring some new life to a tired shoulder bag - my cat bag.

It was in a sorry state, the metal bits for the zips had fallen off and all the piping was coming off.  It was an old favourite that I'd bought about 10 years ago from Camden to cheer me up when I had a cold.  Naturally, I was still attached to my cat bag and wanted to give it a new lease of life so I bought some ribbon for the zips and sewed thread around all the piping in attractive bright colours, worked on the zips with the ribbon and patched up any holes I could find.

And this is the result of my hard work. I am very pleased with it and have definitely given the cat bag a new lease of life - I just need to figure out how to disguise some rusty marks on the front from badges that had lived there for tooooooo long.  Any ideas?