Showing posts with label make do and mend. Show all posts

Monday, 11 November 2013

Crochet Crazy and crochet cushion covers


Craig's cushion: One side red in trebble, other side squares
 I've gone a bit crochet crazy lately.  Think it's the dark evenings that are setting it off.


To start with I've been making a crochet cushion cover for my friend Craig.  One side was fine - I managed to get to the desired 14.5" but when I got to the other side I ran out of wool.


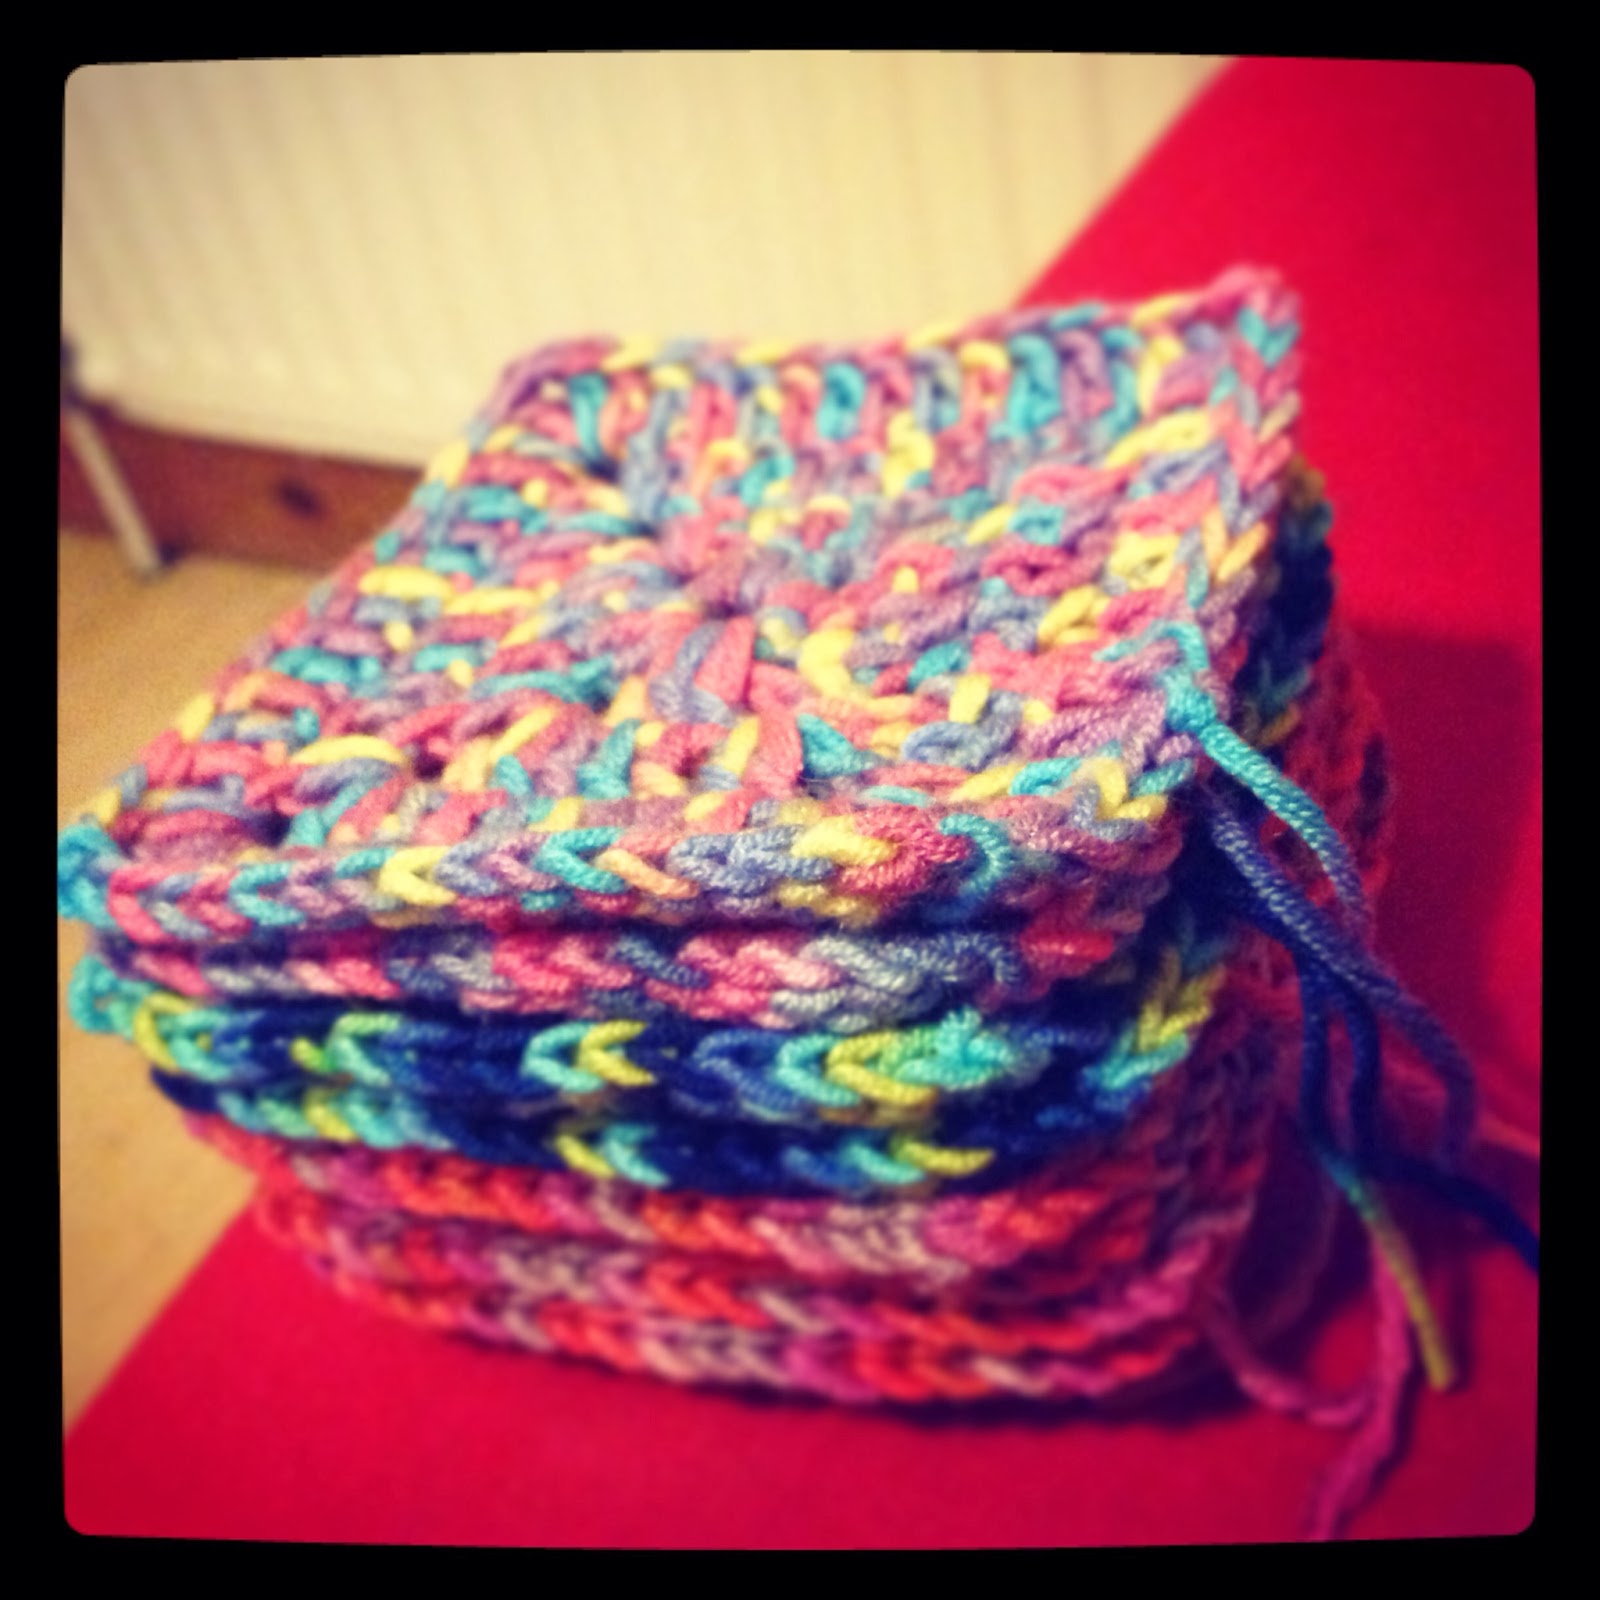
I've just learnt to do single colour crochet squares as I'd love to have a patchwork blanket.  Craig saw these and thought they'd really work as a side to his cushion cover.


He was right, I threaded them together and it really worked.


The only hitch is I've been stitching the sides together with a double crochet stitch in navy blue and it looks lovely and neat one side, but the back side of the stitches not so neat.


I had the epiphany in a dream - yes maybe I am doing a bit too much crochet right now!


Why not edge both sides in blue double crochet stitch and then stitch the sides together - that way the good side of the double crochet will be seen on all sides.


And here it is, edged on both sides with a double crochet stitch.


I then stitched the sides together with a tapestry needle.


But just as I'd finished stitching the sides together I noticed that I'd stitched the red side back to front. Craig was visiting that evening and he actually preferred to have the underside of the squares showing, so I just turned it inside out and let Craig choose his buttons for the fastening at the bottom.


Finally, I made three crochet chains to fasten the buttons with and there you have it, the finished piece of work.


It was really nice to present it to Craig.  It's been a good few months work in the evenings after work and it is the largest crochet project I have worked on so far.


It's crazy to think I only taught myself to crochet with the help of You Tube 10 months ago.


Saturday, 16 February 2013

A late present

My boyfriend's birthday was a few weeks ago.  I was trying to crochet him a woolly hat.

 I am a real beginner with crochet.  In the first week of January I decided to teach myself crochet from a book I bought with the Christmas money my stepfather gave me.  The first week was really tough.  The book was showing pictures of how you should have your hands when crocheting - well quite frankly mine did not want to crochet like that at all.  After a few days of struggling I decided to have a look at You Tube videos of people crocheting in action.  I decided not to worry about my hands but the stitches instead and then I was away with crochet.

I made a few things in my first month a mini storage box, a flower, a twisty scarf and I decided to make my boyfriend's present out of crochet.  I had no idea what to make and he said he would love a woolly hat with a pompom on the top.

Please bear in mind this was 3 days before his birthday and ordinarily this would be enough time to browse in a shop and purchase something appropriate.  But this was my first project making something as a present for my boyfriend - it had to be good!

This was also the first real project based on a round and this really challenged me.  There were a few duff starts before I was confident that what I was working would resemble what I wanted it to be. Needless to say 15 days late, I'm still working on his woolly hat but its almost finished and then I can make the pompom for the top. But as a good friend said - who gets a bespoke woolly hat these days?

Not wanting him to be without on his birthday, he had a handmade card and I baked him a chocolate cake with happy birthday candles so he was chuffed with that.

His real present (the woolly hat) is nearly finished except for the pompom - lets hope I'm not too much of a perfectionist with that bit!  Poor Matt...

Monday, 13 February 2012

A Birthday Card for Him


Men can be so difficult to find suitable cards for.

I made this card for my boyfriend's birthday.  We're a bit strapped at the moment so all he wanted for his birthday was a homemade card and a chocolate birthday cake.

Last year I did a gouache painting, so he knows I like to create things, but this time I wanted to do something really special.

I looked on some websites for inspiration and in the midst of my online research there was a you tube video I found which mentioned "have a really good think of what are the recipients interests or hobbies?  What do they like doing in their spare time?"

For Matt, that was easy, his car!  He bought it about a week before he met me and never really got to pull in the car!  He fondly calls it the rollerskate.

To start to make the card I printed a colour image of the car on our home colour printer.  I just used bog standard paper but very carefully cut around the edges so I could add my own background.

The red back ground was from an offcut of material I bought to make a cushion for him for Christmas (he really likes red).

For the background, originally I was going to go for a shabby chic background of some brown packing paper glued onto a bit of card but then I had the idea of using patterned wrapping paper.  I like bright colours and patterns and felt that there needed to be a bit of me in the card too.  I was browsing round my local art shop and stumbled across these printed cards.  They range from about 50p to £1.00 and you can make about 2 cards out of each sheet.

And there you have the full combinations for my boyfriend's birthday card.  He thinks it has a kind of a retro look to it.

Tuesday, 31 January 2012

Patchwork Bag

I love this bag, so much so that it got quite worn to the extent that it started to get a big hole on the back.  I started off by fixing it and patching up the hole with a brown piece of cloth.  Originally the back was green material like the handle you can see so it was all khaki green with a brown patch in the middle about 10cm x 10cm.  Not very glamorous!

One day I was going through clothes which were taking up too much room in my cupboard.  I found a patchwork skirt that I'd bought in Barcelona a few years ago - I barely squeezed into it when I bought it.  I just loved the colours!  But I never really fitted into it and it just lived in my chest of drawers never seeing the light of day because it really was too small for me to wear. 

I'd seen a programme on appliqué and had the brain wave of turning the skirt into something else, unpicked all the fabric pieces and started sowing them onto the backing of my favourite bag in a patchwork style using the appliqué method. 

And here's the finished result.  I absolutely love it and am so proud I can't help telling friends "I did this!"

It is still a work in progress.  I am going to finish off redoing all the piping in cerise cotton.  I think the green with cerise go together very strikingly.